Email templates help your team communicate consistently and efficiently throughout the lead intake workflow. You can create messages once and reuse them for manual outreach or automated communication.
This guide explains how to create, customize, and personalize your email templates in the CRM.
Creating a New Email Template:
1. Navigate to Settings → Templates
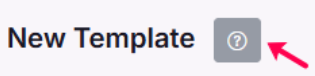
2️. Click + New Template
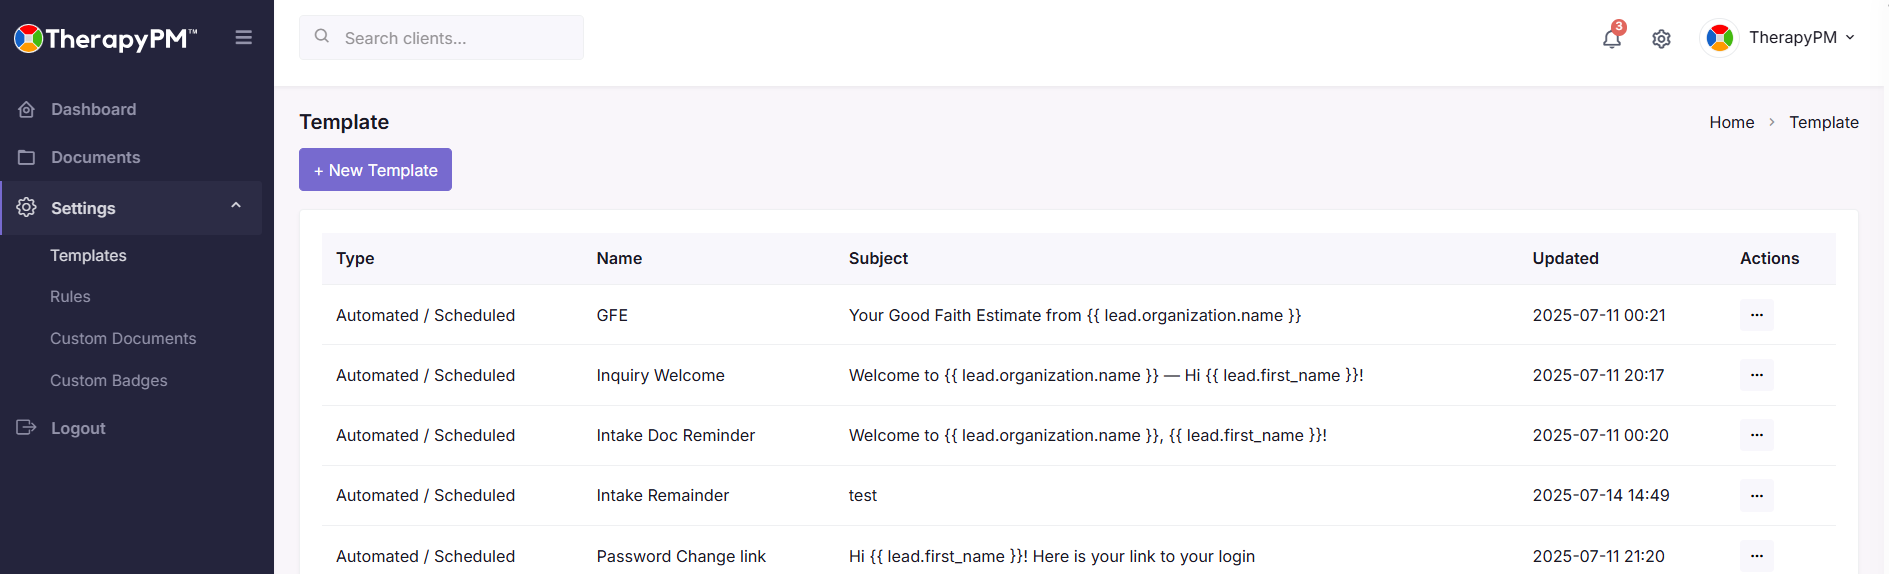
3️. Fill in the template setup form:
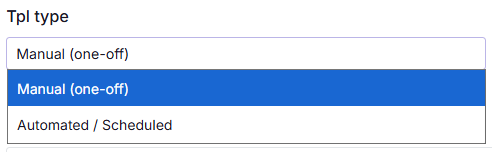
Type
Manual - For one-time, individually triggered emails
Automated - Used inside automation rules connected to lead stages
Template Name
Internal identifier so your team can easily find it later

Subject Line
You can personalize this using variables

Recipients
Add To, CC, or BCC
Variables can be used to automatically insert the correct email

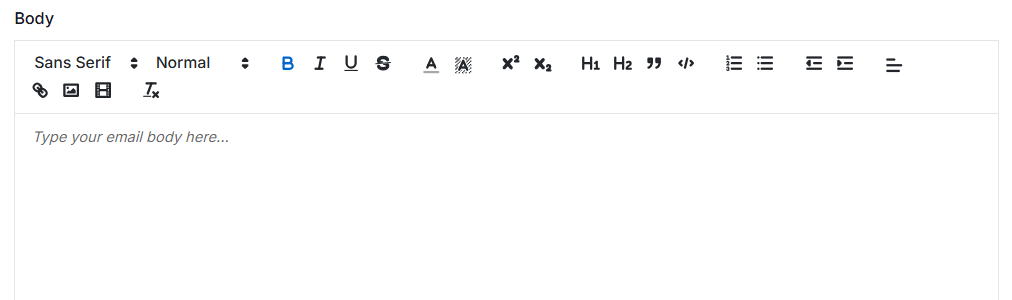
Email Body
Write content using the rich-text editor
Add placeholders to pull lead-specific information dynamically
4. Once complete -> click Create.

Your template will now be available to use in manual emails or automation workflows.
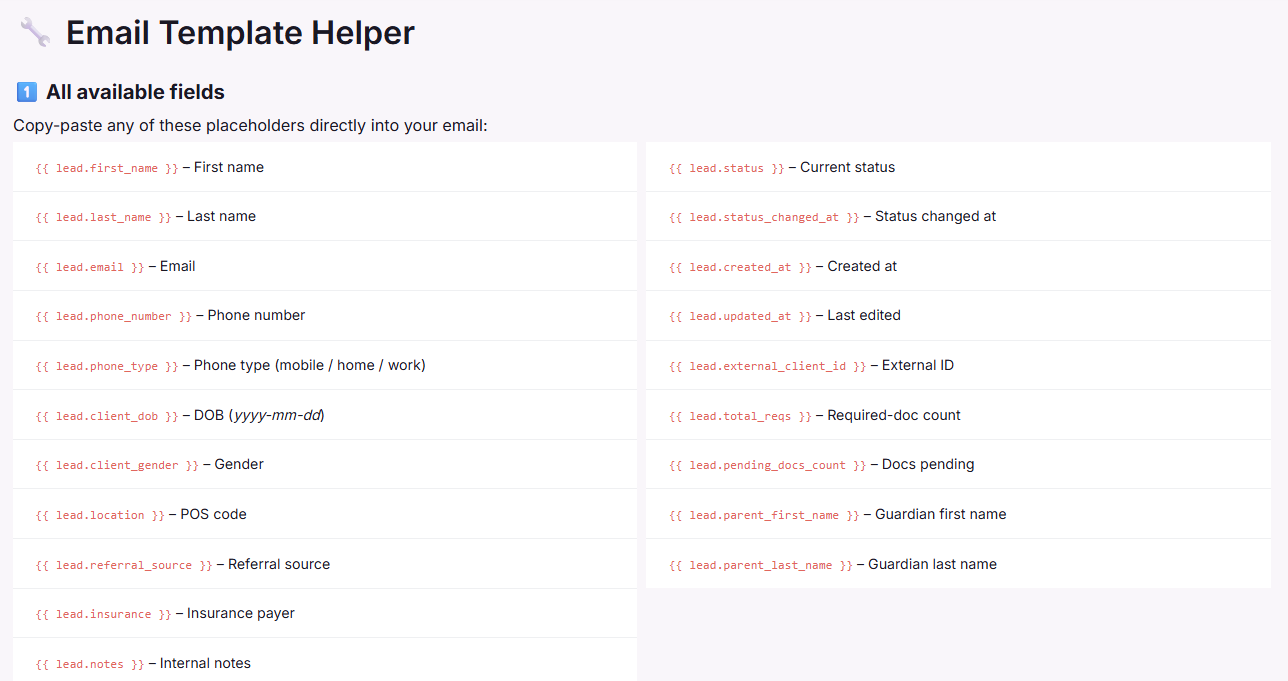
Using Variables in Templates
Variables automatically insert information from the lead’s record such as their name, email, or assigned documents.
Here are some commonly used ones:
{{ lead.first_name }} — Lead’s first name
{{ lead.last_name }} — Lead’s last name
{{ lead.email }} — Lead’s email address
{{ lead.insurance }} — Listed insurance provider
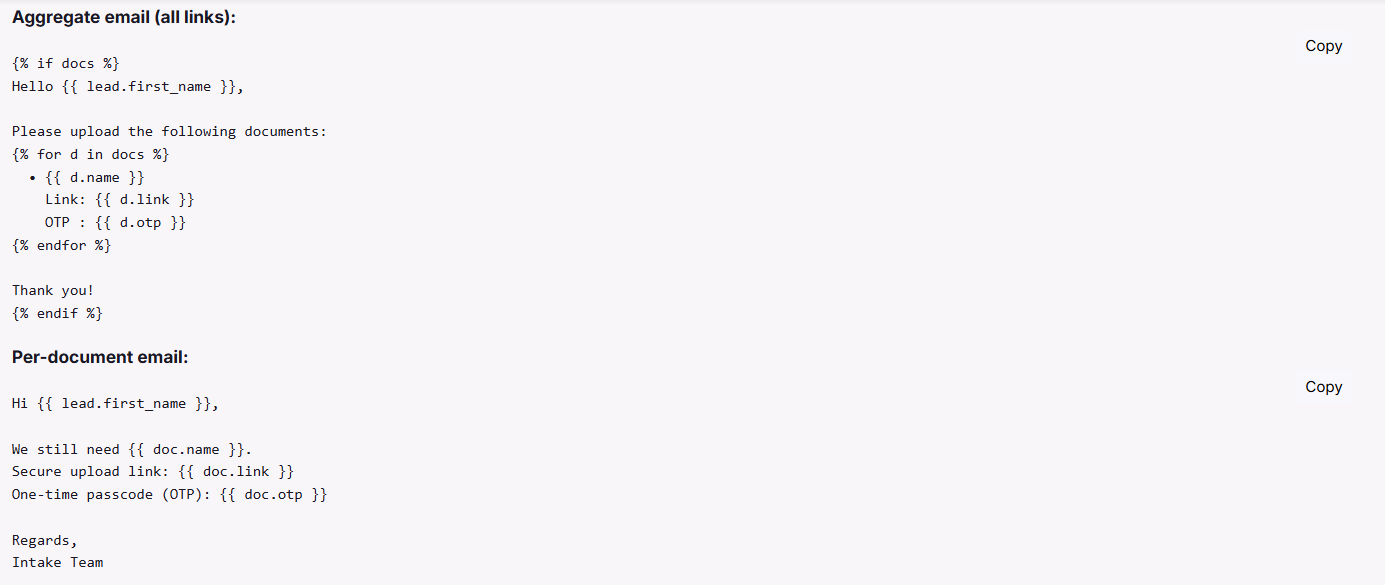
{{ docs }} — Adds all document links in one email
{{ doc }} — Sends individual document links one at a time
These placeholders help maintain personalization without you needing to rewrite emails.
Example Template
Here’s a ready-to-use template you can copy into your CRM: