This article explains how to create custom appointment statuses in TherapyPM.
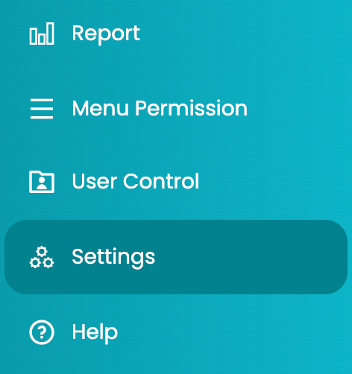
- Click the Settings tab in the left navigation.
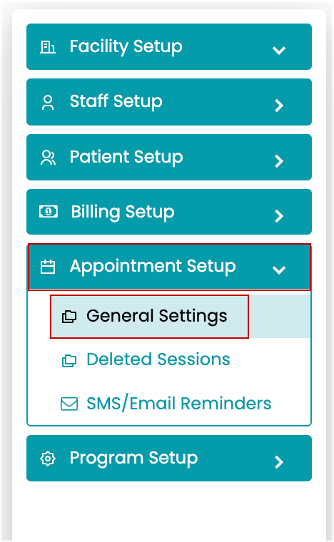
- Click the Appointment Setup tab and select the General Settings option.
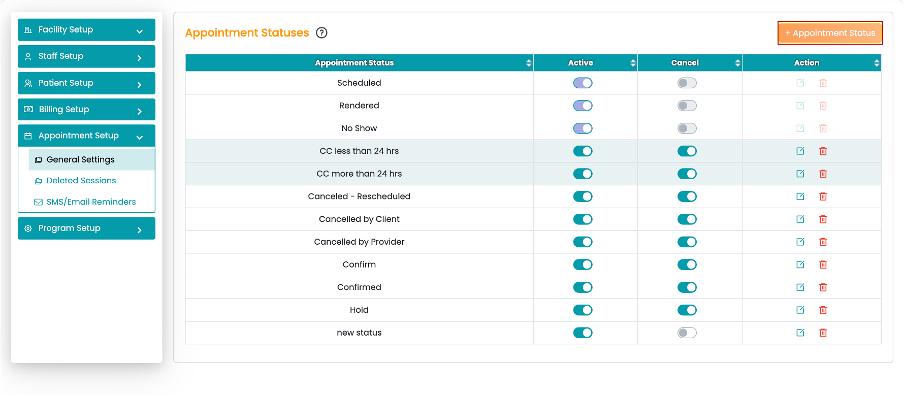
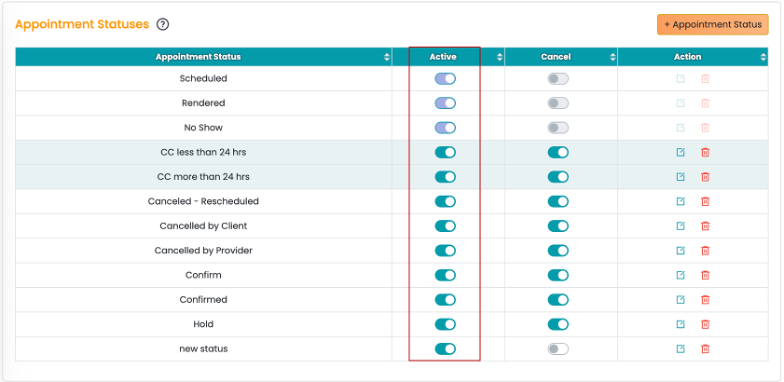
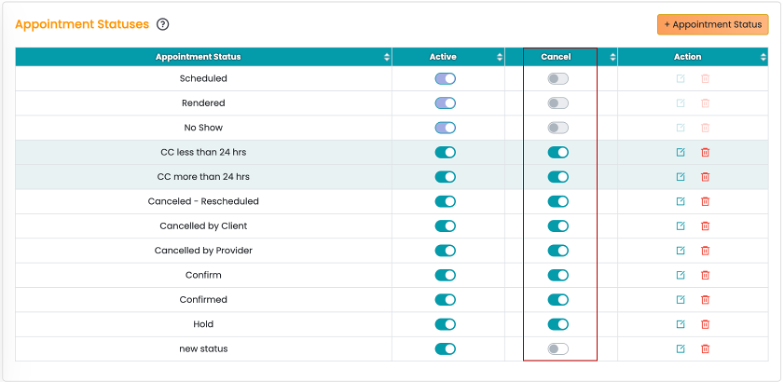
- All the appointment statuses (default and custom) the system uses will be available in the table.
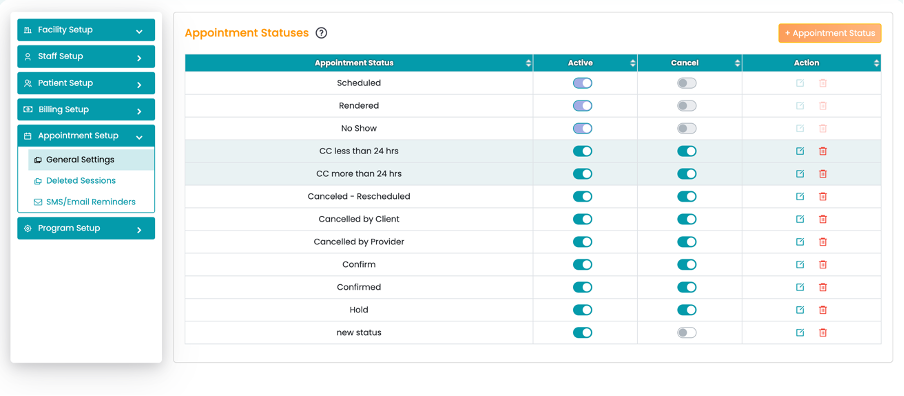
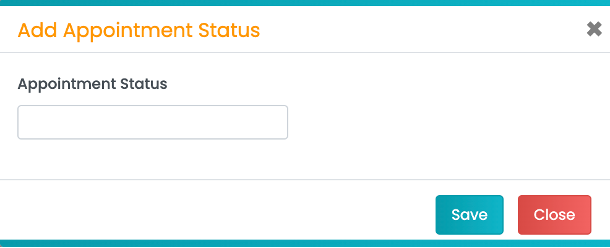
- To create a new appointment status, click the Appointment Status button.
- Enter the appointment status name and click the Save button.
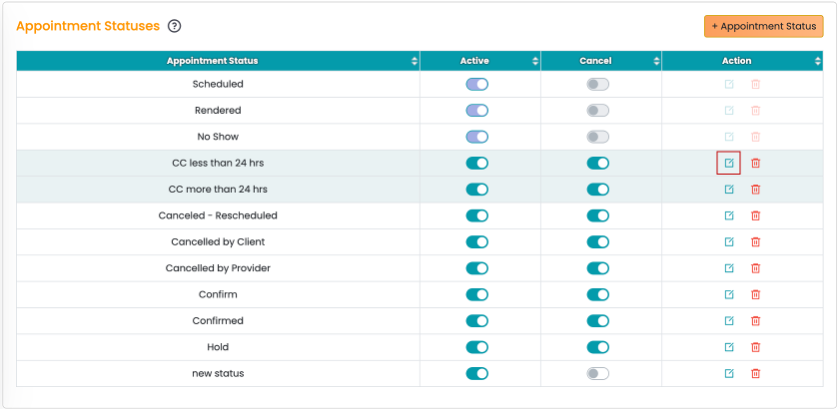
- Users can edit any status by clicking the Edit icon under the Action column.
- Delete the created appointment status by clicking the Delete icon under the Action column.
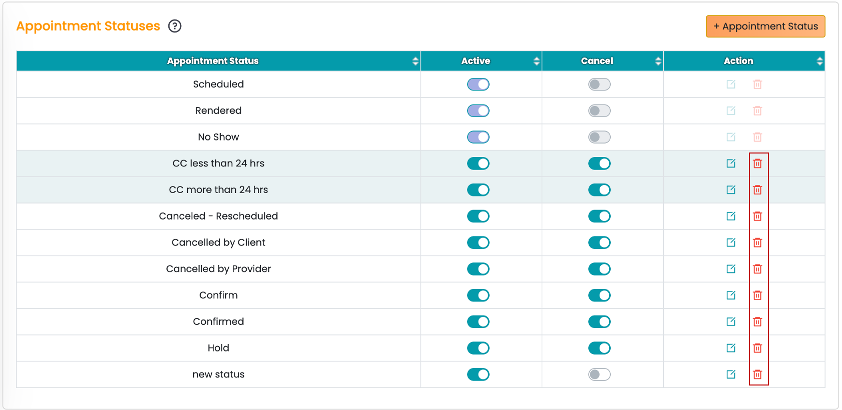
- The default statuses (Scheduled, Rendered, and No show) cannot be updated.

- Active toggle: Use the toggle to make a status active or inactive.
- Cancel toggle: Click the toggle to cancel an appointment status.
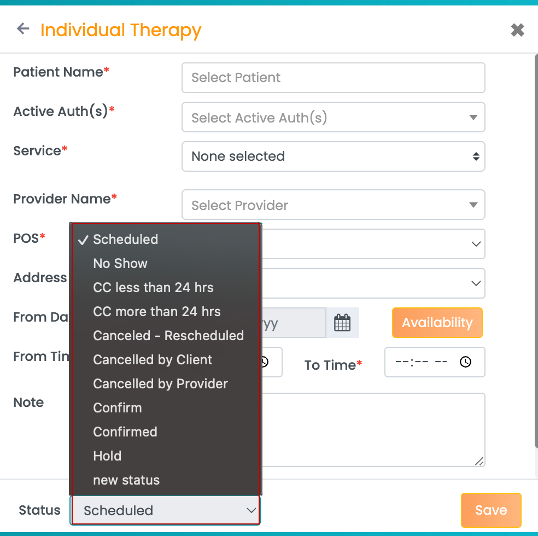
- Any status created here will be available in the Create Appointment screen or Edit Appointment screen.