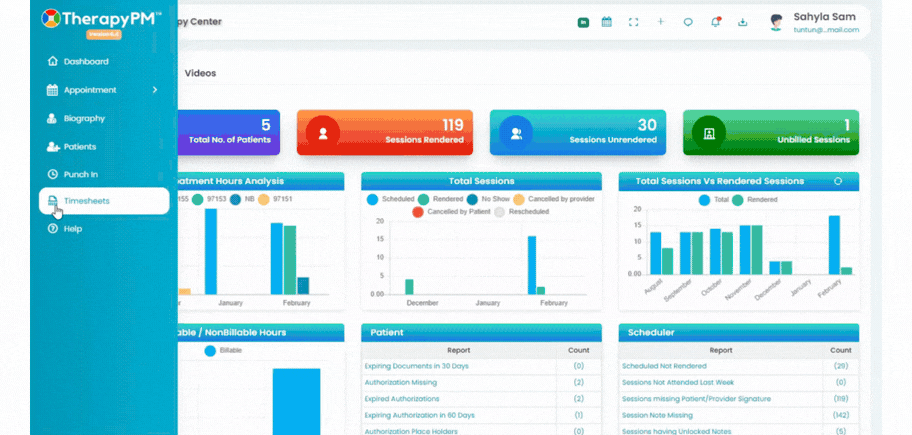
This article details on how providers/staff can submit timesheet(s).Video Walkthrough
View the below walkthrough video on How to Submit Timesheet in Provider Portal
Timesheets submitted by the provider and other reporting provider (in case of provider supervisor). The user will have the ability to select the year and pay period to generate the timesheet. The timesheet submission module can be accessed in the provider portal by clicking the Payroll tab in the left navigation.
- Go to Timesheet(s) tab using left navigation bar. You will be directed to the Timesheets page, where you can manage timesheets for all your timesheets.
- Sort by desired sort filters from below options and Click Go to generate data;

Choose the Payroll Year
Select the Payroll Period you want to manage
Filter by Status, if you want to view Submitted or Non Submitted timesheets.
- Review Timesheet Table: Once generated, the data will appear in a table containing the following details:
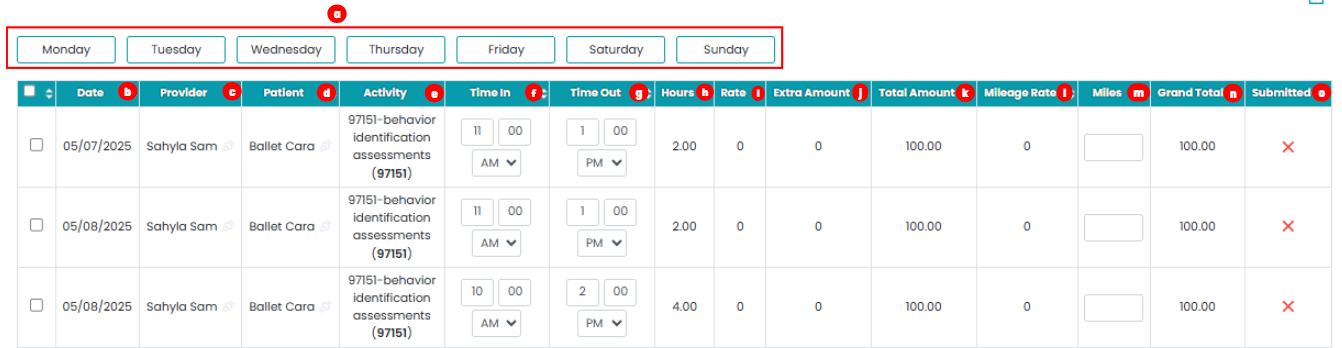
Day of the Week – Click on any day to filter sessions for that specific day
Date – Service date
Provider – Service provider name
Patient – Client who attended the session
Activity – Type of service provided
Time In – Session start time
Time Out – Session end time
Hours – Total session duration
Rate – Pay rate configured
Extra Amount – If any extra amount added by admin will display here.
Total Amount – Total amount for the service
Mileage Rate – Mileage rate configured
Miles – Enter mileage if travel occurred
Grand Total – Gross total including service amount, mileage, and extra amounts
Submitted - The column will display “X” if the timesheet has not been submitted and “✓” once the timesheet is successfully submitted.
Download Timesheet Report

Use the Download tray located in the top right corner to export the displayed timesheet report in CSV or PDF format.Manage Timesheets: Select timesheets using the checkbox next to each row. Then use the dropdown menu at the bottom to perform actions, Select desired option and click on Ok to finalize.

Save Changes
Available after editing table fields.Submit Timesheets
Use the check box to select session and access submit selected timesheets option.