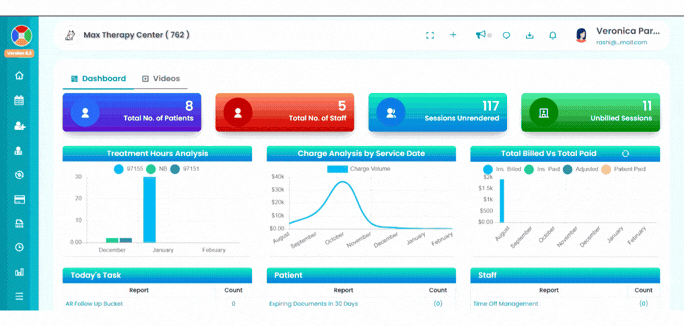
This article explains all the shortcut icons and features available.Shortcuts:
A. Profile Settings:
You can review your profile data and edit it by clicking on your name on the top right hand on the screen.
- My Profile: Click on this tab to review and edit your details.
- Change Password: Click on this tab to change your password. You would need to add a new password and confirm the new password.
- Sign Out: Click on Sign Out button to sign out of your account.
B. Notifications:
You will receive notifications for the intake form submissions or VOB form verifications here. To view notifications, follow the steps below:
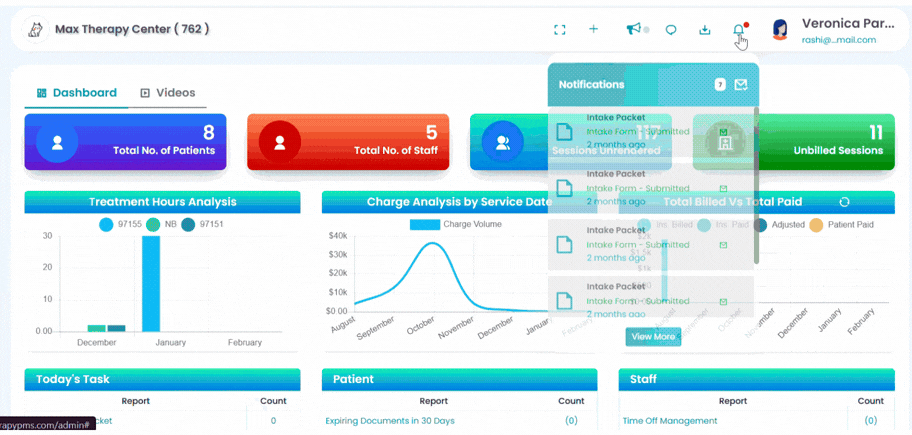
- Click on the notification button.
- Click on View More to review the previous notifications.
- You can filter the notifications and choose between "All", "Read" and "Unread".
- Select notification(s) and change their statuses to "Read", "Unread" or "Delete" them.
- To review the document, click on the file under the Type column.
- You can review clients' information by clicking on their names.
- The open mail icon indicates that the notification and the document are reviewed. The closed mail icon indicates that it hasn't been reviewed. To change the notification status, click on the icons.
C. Downloads Tray:
If you have downloaded any documents or reports, you can review them here.
- Click on the download icon.
- Click on View More to review all the documents you have downloaded previously.
- You can review the downloaded file - the date on which it was downloaded, the person who downloaded it, and the download status.
- To share the downloaded item with password protection, click on "Export" and a small tab will pop up. Enter the password twice and share it with the recipient. You can also share it without encryption.
D. Messaging:
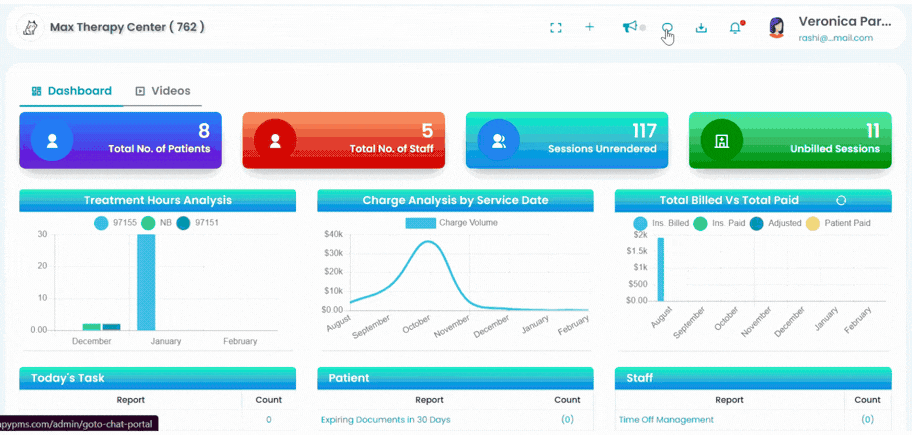
You can communicate with other staff(s), provider(s), or clients using the messaging tool.
- Click on the chat icon.
- Select the person to start a conversation with.
- You can share documents/images with the recipient and view them too.
E. Announcements:
You can review these notifications for regular updates on all of our new features and enhancements.
- Click on the announcement icon.
- A red button will appear for unread announcements.
- Click on the announcement and review it.
F. Action Buttons
You can take the following actions by clicking on this button.
1. Create New Patient: Click on "Create Patient", input the required details, and click on "Create & Continue".
2. Create New Appointment: Click on "Create Appointment", enter the details, and click on "Add Appointment".
3. Eligibility & Benefits: To request eligibility for the clients, click on "Request Eligibility", fill out the form, and click on "Request Eligibility'. This feature can only be used if you sign up our billing services. The requests added here are directed to our team and they will complete and attach the files received from insurance.
4. Send Fax: Enter the fax number, choose the file to be faxed, and click on "Send Fax".
5. VOB Request: Create a new VOB request. Review all the previous requests to make necessary updates or edits. This feature can only be used if you sign up our billing services. The requests added here are directed to our team and they will complete and attach the VOB received from insurance.
6. Auth Request: Create a new Authorization request. Review all the previous requests to make necessary updates or edits. This feature can only be fully utilized if you sign up our billing services. The requests added here are directed to our team and they will complete and attach the Auth received from insurance.
7. Send Broadcast Message: Send a message to your clients and team so they can review the messages upon logging in.
G. Maximize:

Click on the "full screen" icon, to expand and maximize your screen. To exit, click on the "Esc" button.
Please note that these shortcuts can be accessed from any tab or pages in the app.