This article explains how to view deposit details in the Cash Posting module.
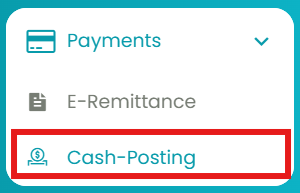
- Select the Cash Posting option in the Payment tab under the left navigation.

- Use the filters - Deposit Date Range, Check Date Range, Payee, Payee Name, and Check Number. Click View to generate the required deposits.

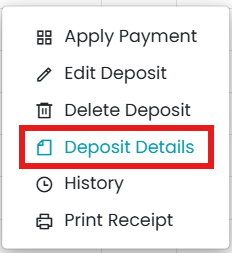
- Under the Deposit List, click on the three horizontal dots (...) under the Action column.

- Click on the "Deposit Details" option under the list. A new table will appear below.

- Alternatively, select a deposit in the list using checkboxes. Choose "Show Detail(s)" from the bottom-left drop-down to view Deposit Details.

- The Deposit Details table consists of the following information: Claim ID, Payee, Patient, DOS, Code, Modifiers, Amount, Payment, Adjustment, Balance, Status, Auto Forwarding (AF), Secondary Payor, Notes, and Created Date.

- Click the Download icon to save the table in CSV or Excel format.

- To edit the deposit details, please visit this article!


