This tab provides a full list of staffs and employees in the practice.
Video Walkthrough
For a live demonstration on Staff Tab Overview, watch the below video:
TherapyPM helps you take control of staff management effectively. It allows you to add, organize, and track staff details, schedules, statuses, and leave information. No more hassles with multiple paperwork and tabs!
View and Manage All The Staff(s)
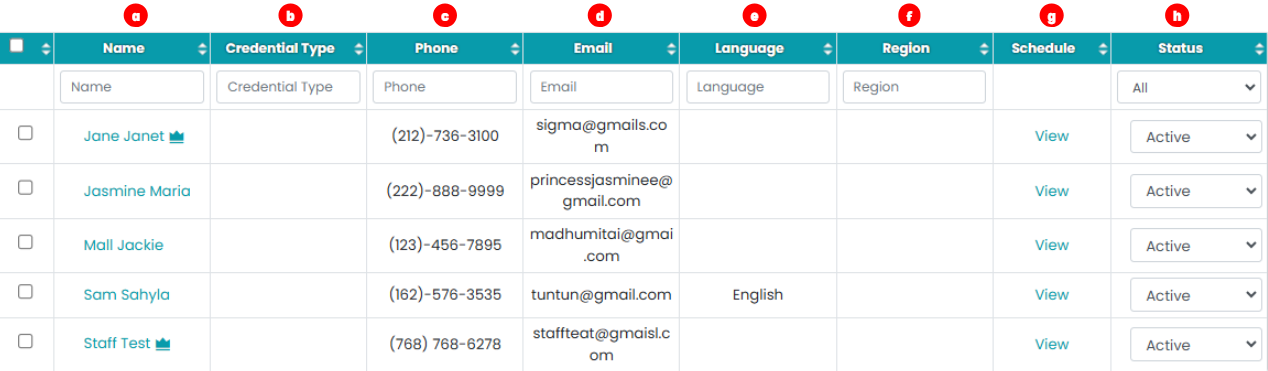
The Staff tab is the fourth tab on the left navigation bar. It allows you to view, manage, edit, and update employee information as per your requirements. As you navigate through the Staff module, you can see a list of Staff within your facility. It displays all the important details of your staff
Manage Staff
The Staff module consists of the following features as explained below:
Add Staff/Provider
- Click on the orange "+ Add Staff" button in the top right corner above the Staff list.
- It will redirect you to the staff creation page, where you will be able to create new staff.
Staff Wallchart
It highlights the days off (approved or pending) for providers/staff with filters in a Calendar view.

- Click on the staff wallchart button to navigate to the page. In the top right corner, you can see the leave types granted within your facility. According to that, it denotes the leave type taken by providers/staff on the respective dates.
- To view specific leave taken by the provider(s), use the filters: Date/Date Range: Select the date range for the leave days. Filter By: Use the drop-down to filter and view leave types based on the locations of your facilities. Pending Request: Toggle ON/OFF whether to view leaves with pending requests or not.
Schedule
- Select your preferred staff/provider in the Staff list.
- Click on "View" under the Schedule column (second right). It will redirect you to the Calendar View.
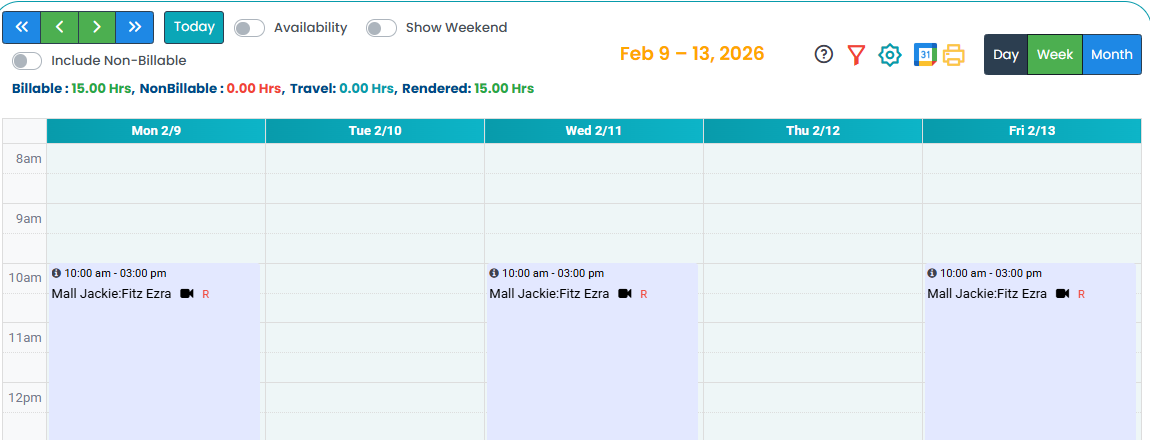
- View/create appointments and schedules as required.
Bulk update
Access the Staff module and select the staff members using the checkboxes next to their names.
Once selected, click on the bulk action dropdown located above the table.
Choose the desired option (Status or Region).
Select the appropriate status or region you would like to assign.
Click Update to apply the changes to all selected staff members.